How to use your Horse Pilot airbag correctly: instructions for use
Because your safety on horseback is a priority, Horse Pilot provides this practical guide to help you use its two airbag models. Whether you are an amateur or experienced rider, this article will help you master the correct movements from the very first time you use your airbag, so you can ride with confidence and in the best possible conditions.
Find Horse Pilot airbags here.
Comment fonctionne un airbag pour l'équitation?
Un airbag d’équitation se déclenche automatiquement lors d'une chute, soit par un câble relié à la selle, soit via un système électronique avec des capteurs (innovation Horse Pilot). En quelques millisecondes, l'airbag se gonfle pour protéger le torse, le dos, le cou et parfois les hanches du cavalier, réduisant les risques de blessures graves. Après activation, il se dégonfle et peut être réutilisé après un remplacement de la cartouche de gaz.
Comment utiliser un airbag pour l'équitation?
Mise en place et ajustement:
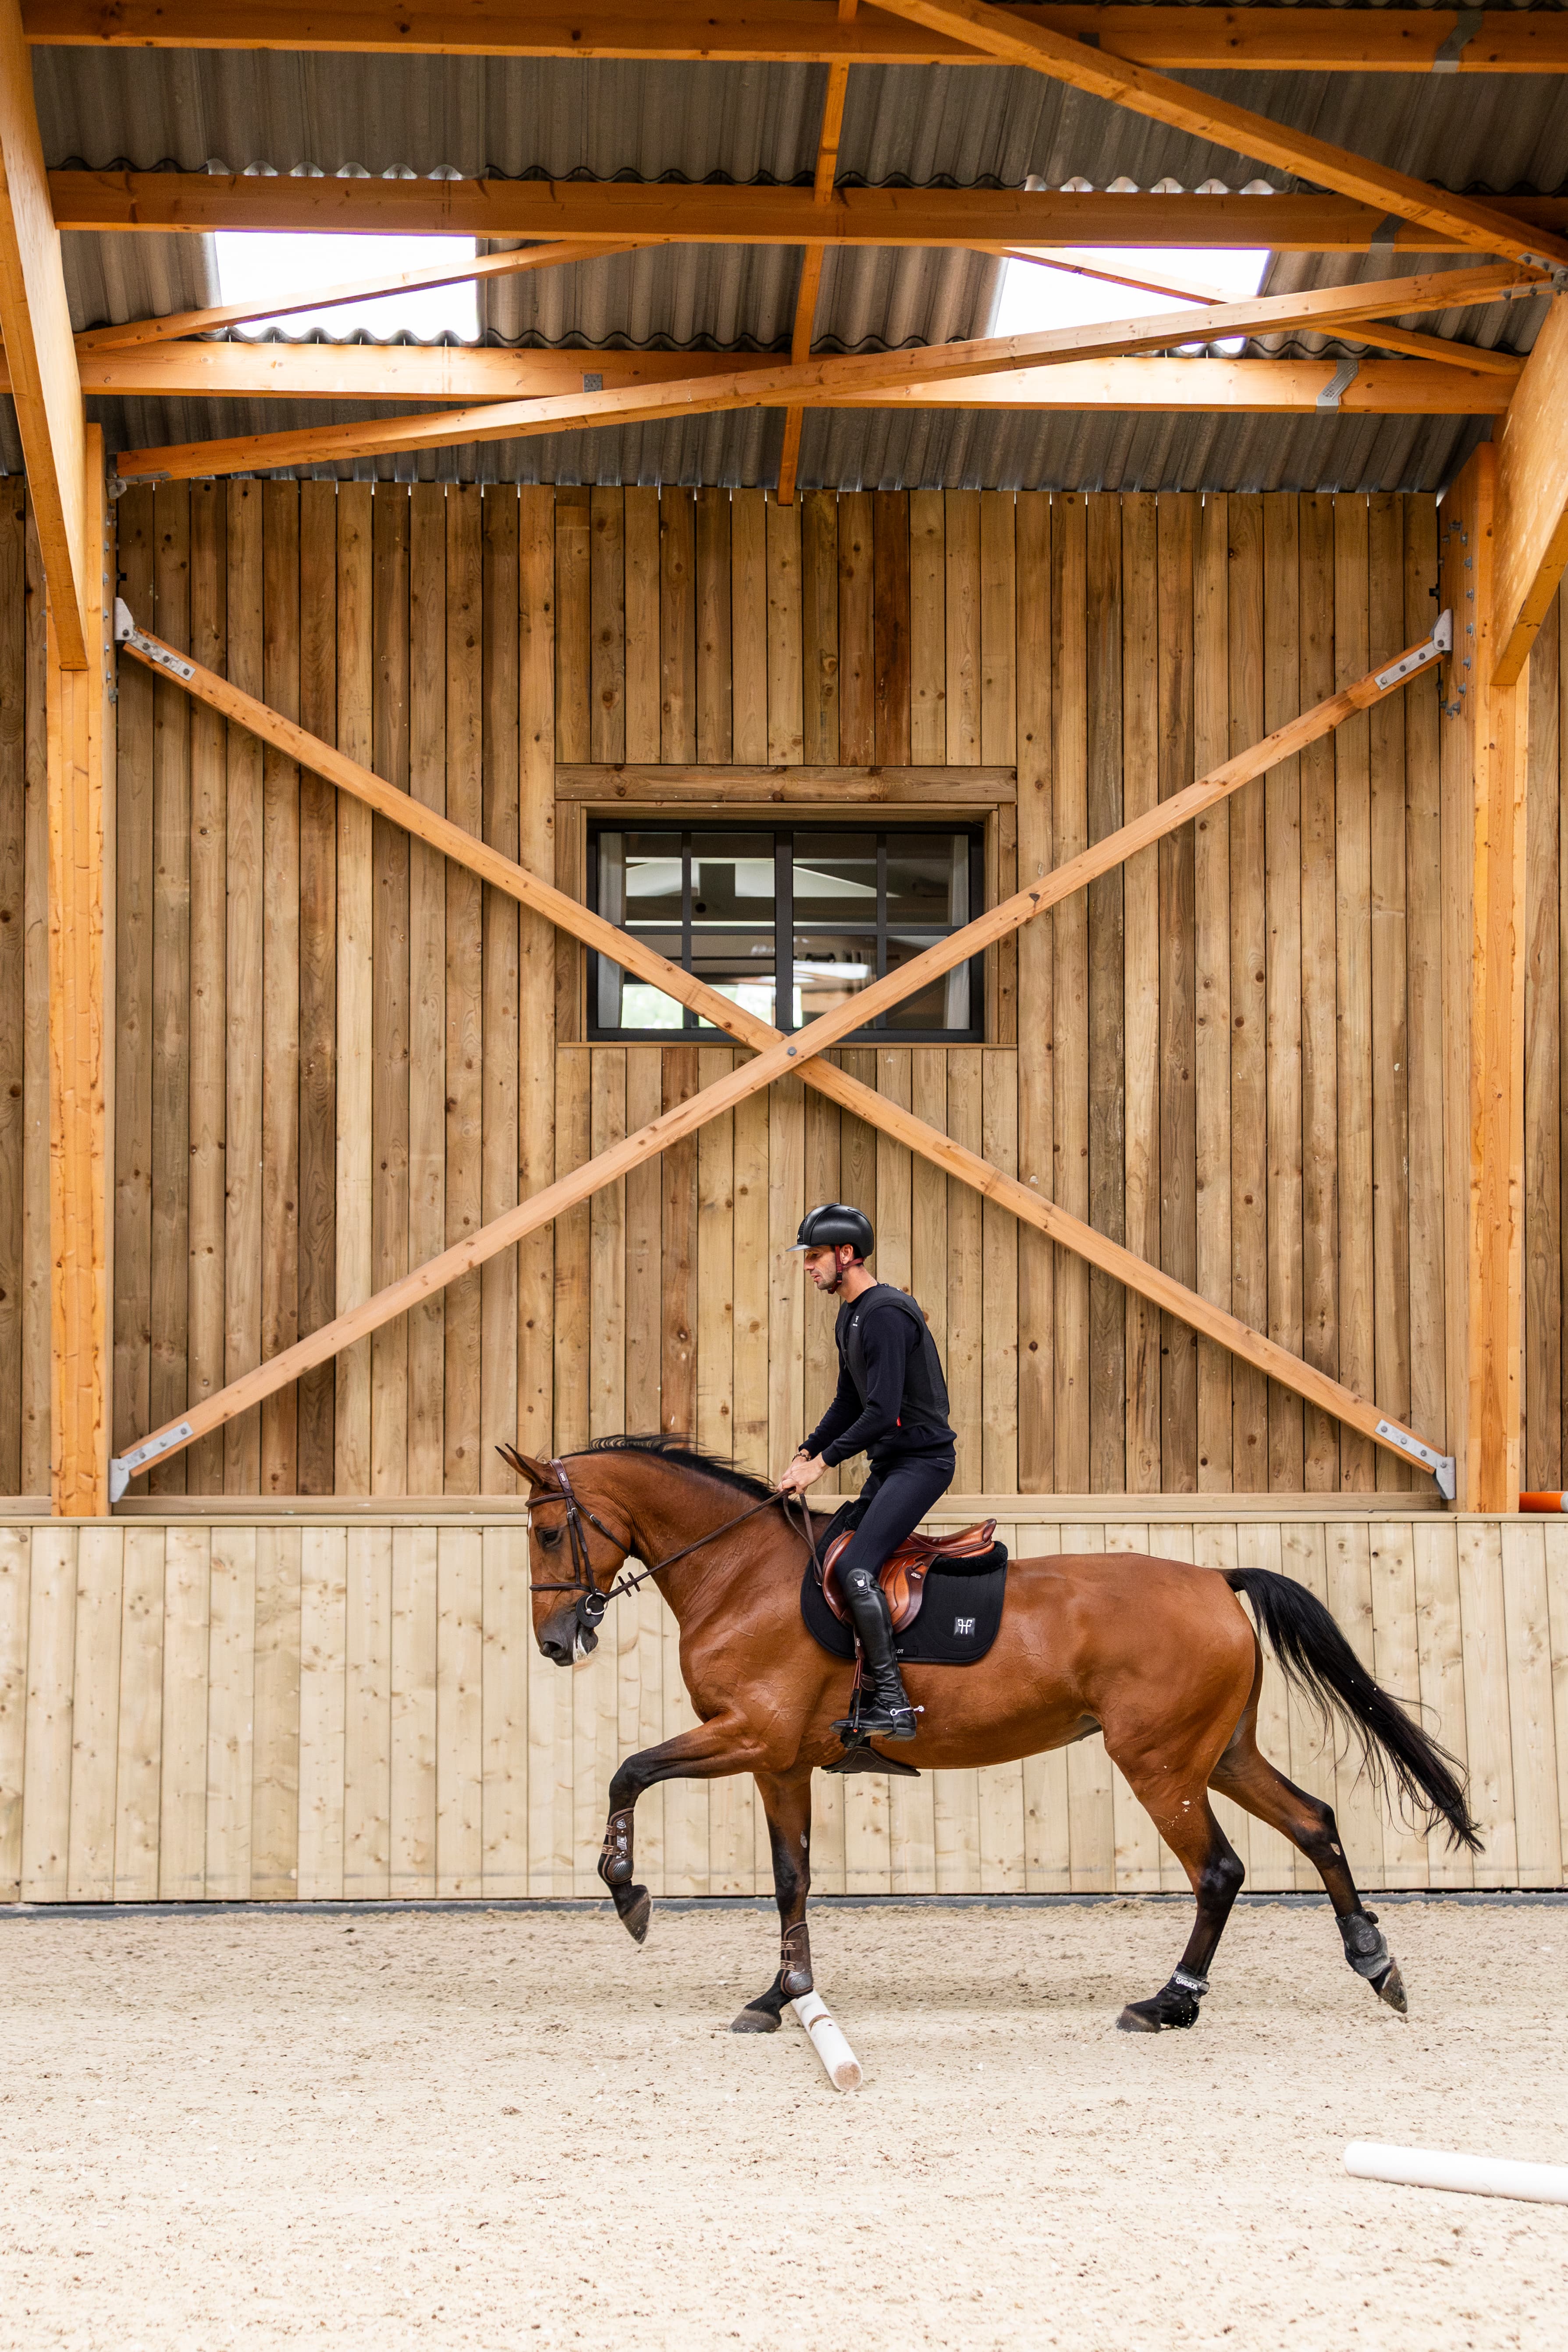
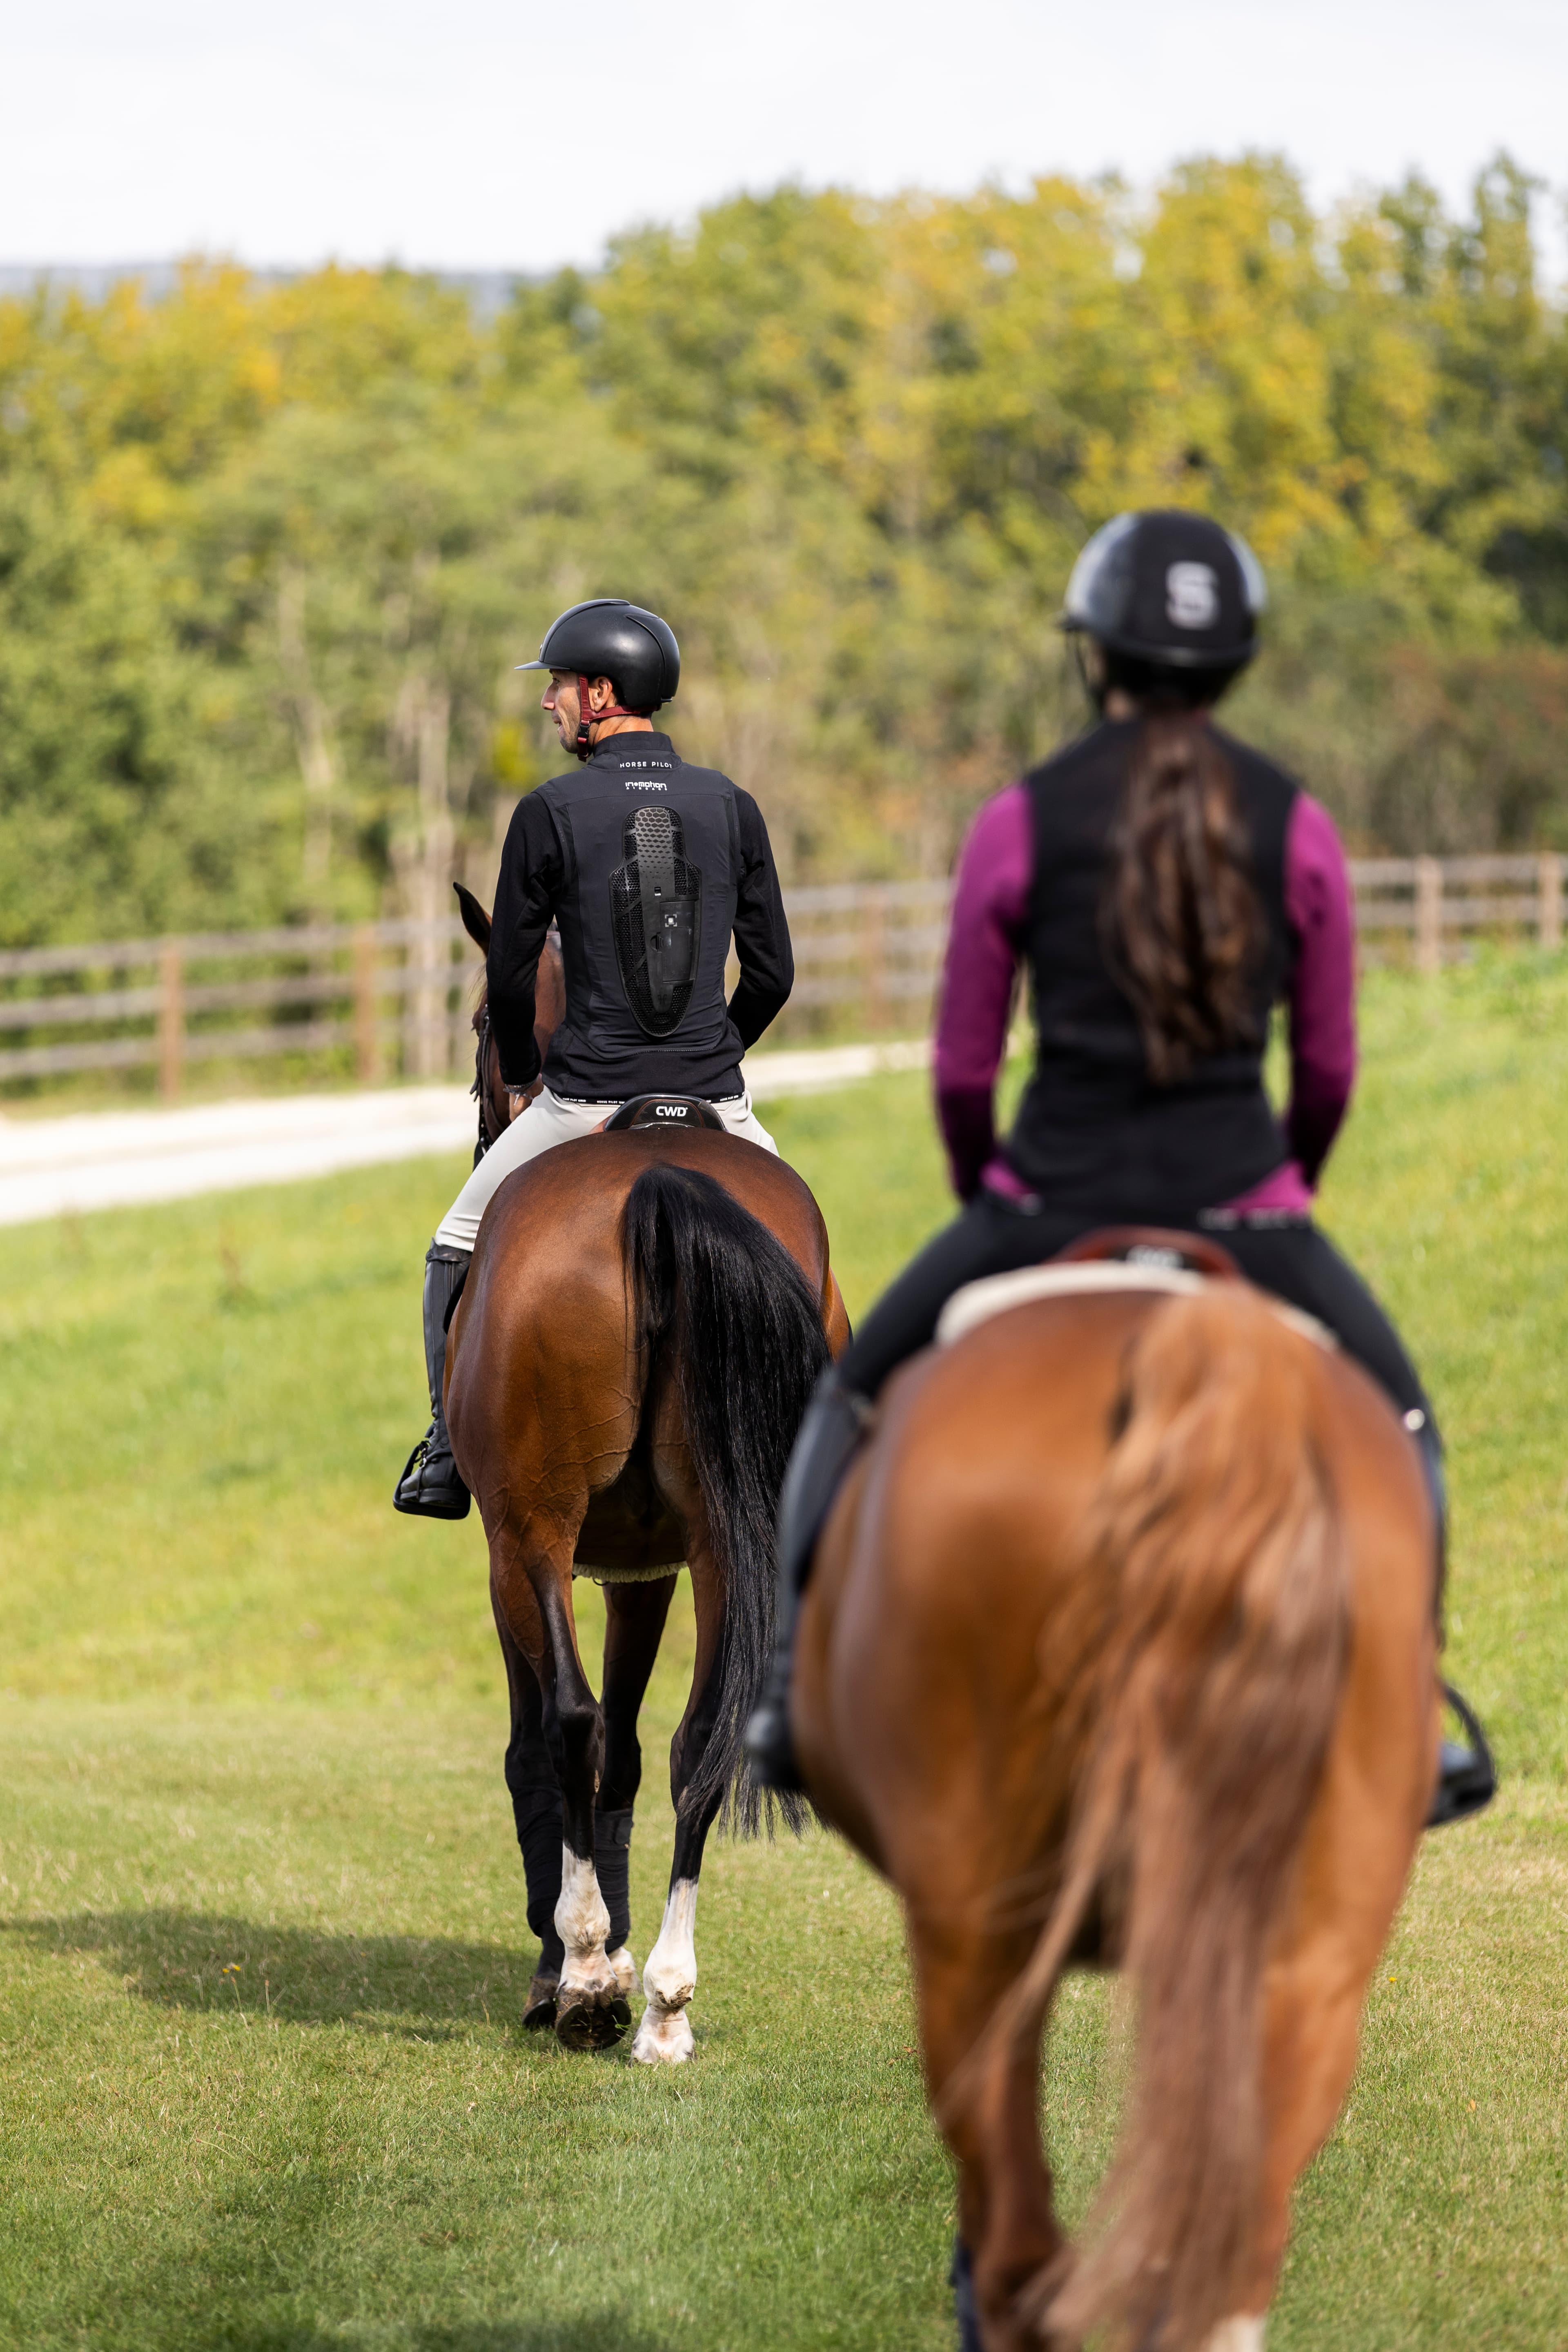
L’utilisation d’un airbag d’équitation est simple, mais il y a quelques étapes essentielles à suivre pour garantir son bon fonctionnement et sa sécurité. Prenez une votre taille en suivant les conseils de taillant sur la page de l'airbag choisi, notez que l'airbag se porte très près du corp.
Test de l'airbag:
Avant l'utilisation, vérifiez que la cartouche de gaz est pleine et que le système de déclenchement (câble ou électronique) est en bon état. Portez-le correctement , enfilez le gilet d’airbag ajusté et attachez le câble à la selle si nécessaire. Lors de la chute, le système se déclenche automatiquement, gonflant l’airbag pour protéger votre torse, dos et cou. Après la chute, l’airbag se dégonfle et peut être réutilisé après remplacement de la cartouche de gaz.
Activation de l'airbag:
Le déclenchement de l'airbag d'équitation se fait de deux manières principales:
Le système mécanique : Un câble ou cordon attaché à la selle est relié à l’airbag. Lorsqu’un cavalier tombe, ce câble se détache automatiquement et déclenche le gonflage de l’airbag.
Le système électronique : Des capteurs intégrés dans le gilet détectent les mouvements brusques ou la chute du cavalier. Ces capteurs envoient un signal à un mécanisme de gonflage, qui se déclenche en quelques millisecondes.
Dans les deux cas, l'airbag se gonfle instantanément pour protéger le cavalier en cas de chute.
Entretien et maintenance d'un airbag pour l'équitation
Après une chute: vérifiez l’état général du gilet (pas de tissus déchirés ni de dommages sur le boîtier ou les connecteurs). Dégonflez l’airbag en appuyant avec les avant-bras sur les boudins.
Remettez en place le piston et la goupille à l’aide de la clé Allen fournie. Remplacez la recharge CO₂ par une neuve (uniquement de marque In&Motion).
Il est important de faire réviser votre gilet tous les ans ou après 5 déclenchements, même si tout semble normal afin de garantir son bon fonctionnement.
Comment changer sa cartouche d'airbag d'équitation?
Il faut changer sa cartouche après chaque déclenchement de l’airbag (même si le gonflage semble partiel). Il faut également changer sa cartouche tous les ans, si elle n’a pas été utilisée.
Enfin il est important de ne jamais réutiliser une cartouche ayant déjà servi.
Pour changer votre cartouche il vous faut:
Une cartouche neuve In&Motion (uniquement des modèles certifiés)
La clé Allen fournie avec le gilet (située au dos du boîtier)
Un endroit propre et plat pour travailler
Étapes pour remplacer la cartouche
1. Retirez la cartouche usagée
Posez le gilet à plat.
Avec vos pouces et index, faites glisser les deux loquets du boîtier vers le bas.
Soulevez doucement la cartouche en appuyant avec le pouce sous le boîtier.
2. Dévissez le bouchon de sécurité
Utilisez la clé Allen pour dévisser le bouchon situé sur le dessus du boîtier.
Arrêtez dès que l’indication "STOP" apparaît.
Si vous voyez du rouge, revissez légèrement.
3. Réarmez le système
Enfoncez doucement le piston avec la clé Allen jusqu’à ce que son trou soit aligné avec celui du boîtier.
Insérez la goupille métallique dans le trou du piston.
Maintenez-la en place avec le doigt et revissez le bouchon jusqu’à ce que les flèches soient alignées.
4. Installez la nouvelle cartouche
Clipsez la nouvelle cartouche sur le boîtier jusqu’à entendre un "clic".
Replacez l’élastique pour la maintenir.
Actions à ne jamais faire avec la cartouche
Ne jamais tenter de réparer une cartouche.
Ne pas la percer ni la chauffer.
Ne pas utiliser une cartouche d’une autre marque ou d’un autre modèle.
Tenir hors de portée des enfants et ne pas exposer à plus de 45°C.